Build a Chatbot DApp using TypeScript
We're going to use the Chatbot example to explain how to create a DApp in TypeScript using an existing smart contract. For details on the chatbot smart contract , refer Chatbot contract implementation.
Overview
If installed, the browser extension will expose a WeilWallet object that can be used to interact with the wallet.

Main interactions to use will be the following:
- connect / disconnect wallet
- send transaction
Detecting wallet installation
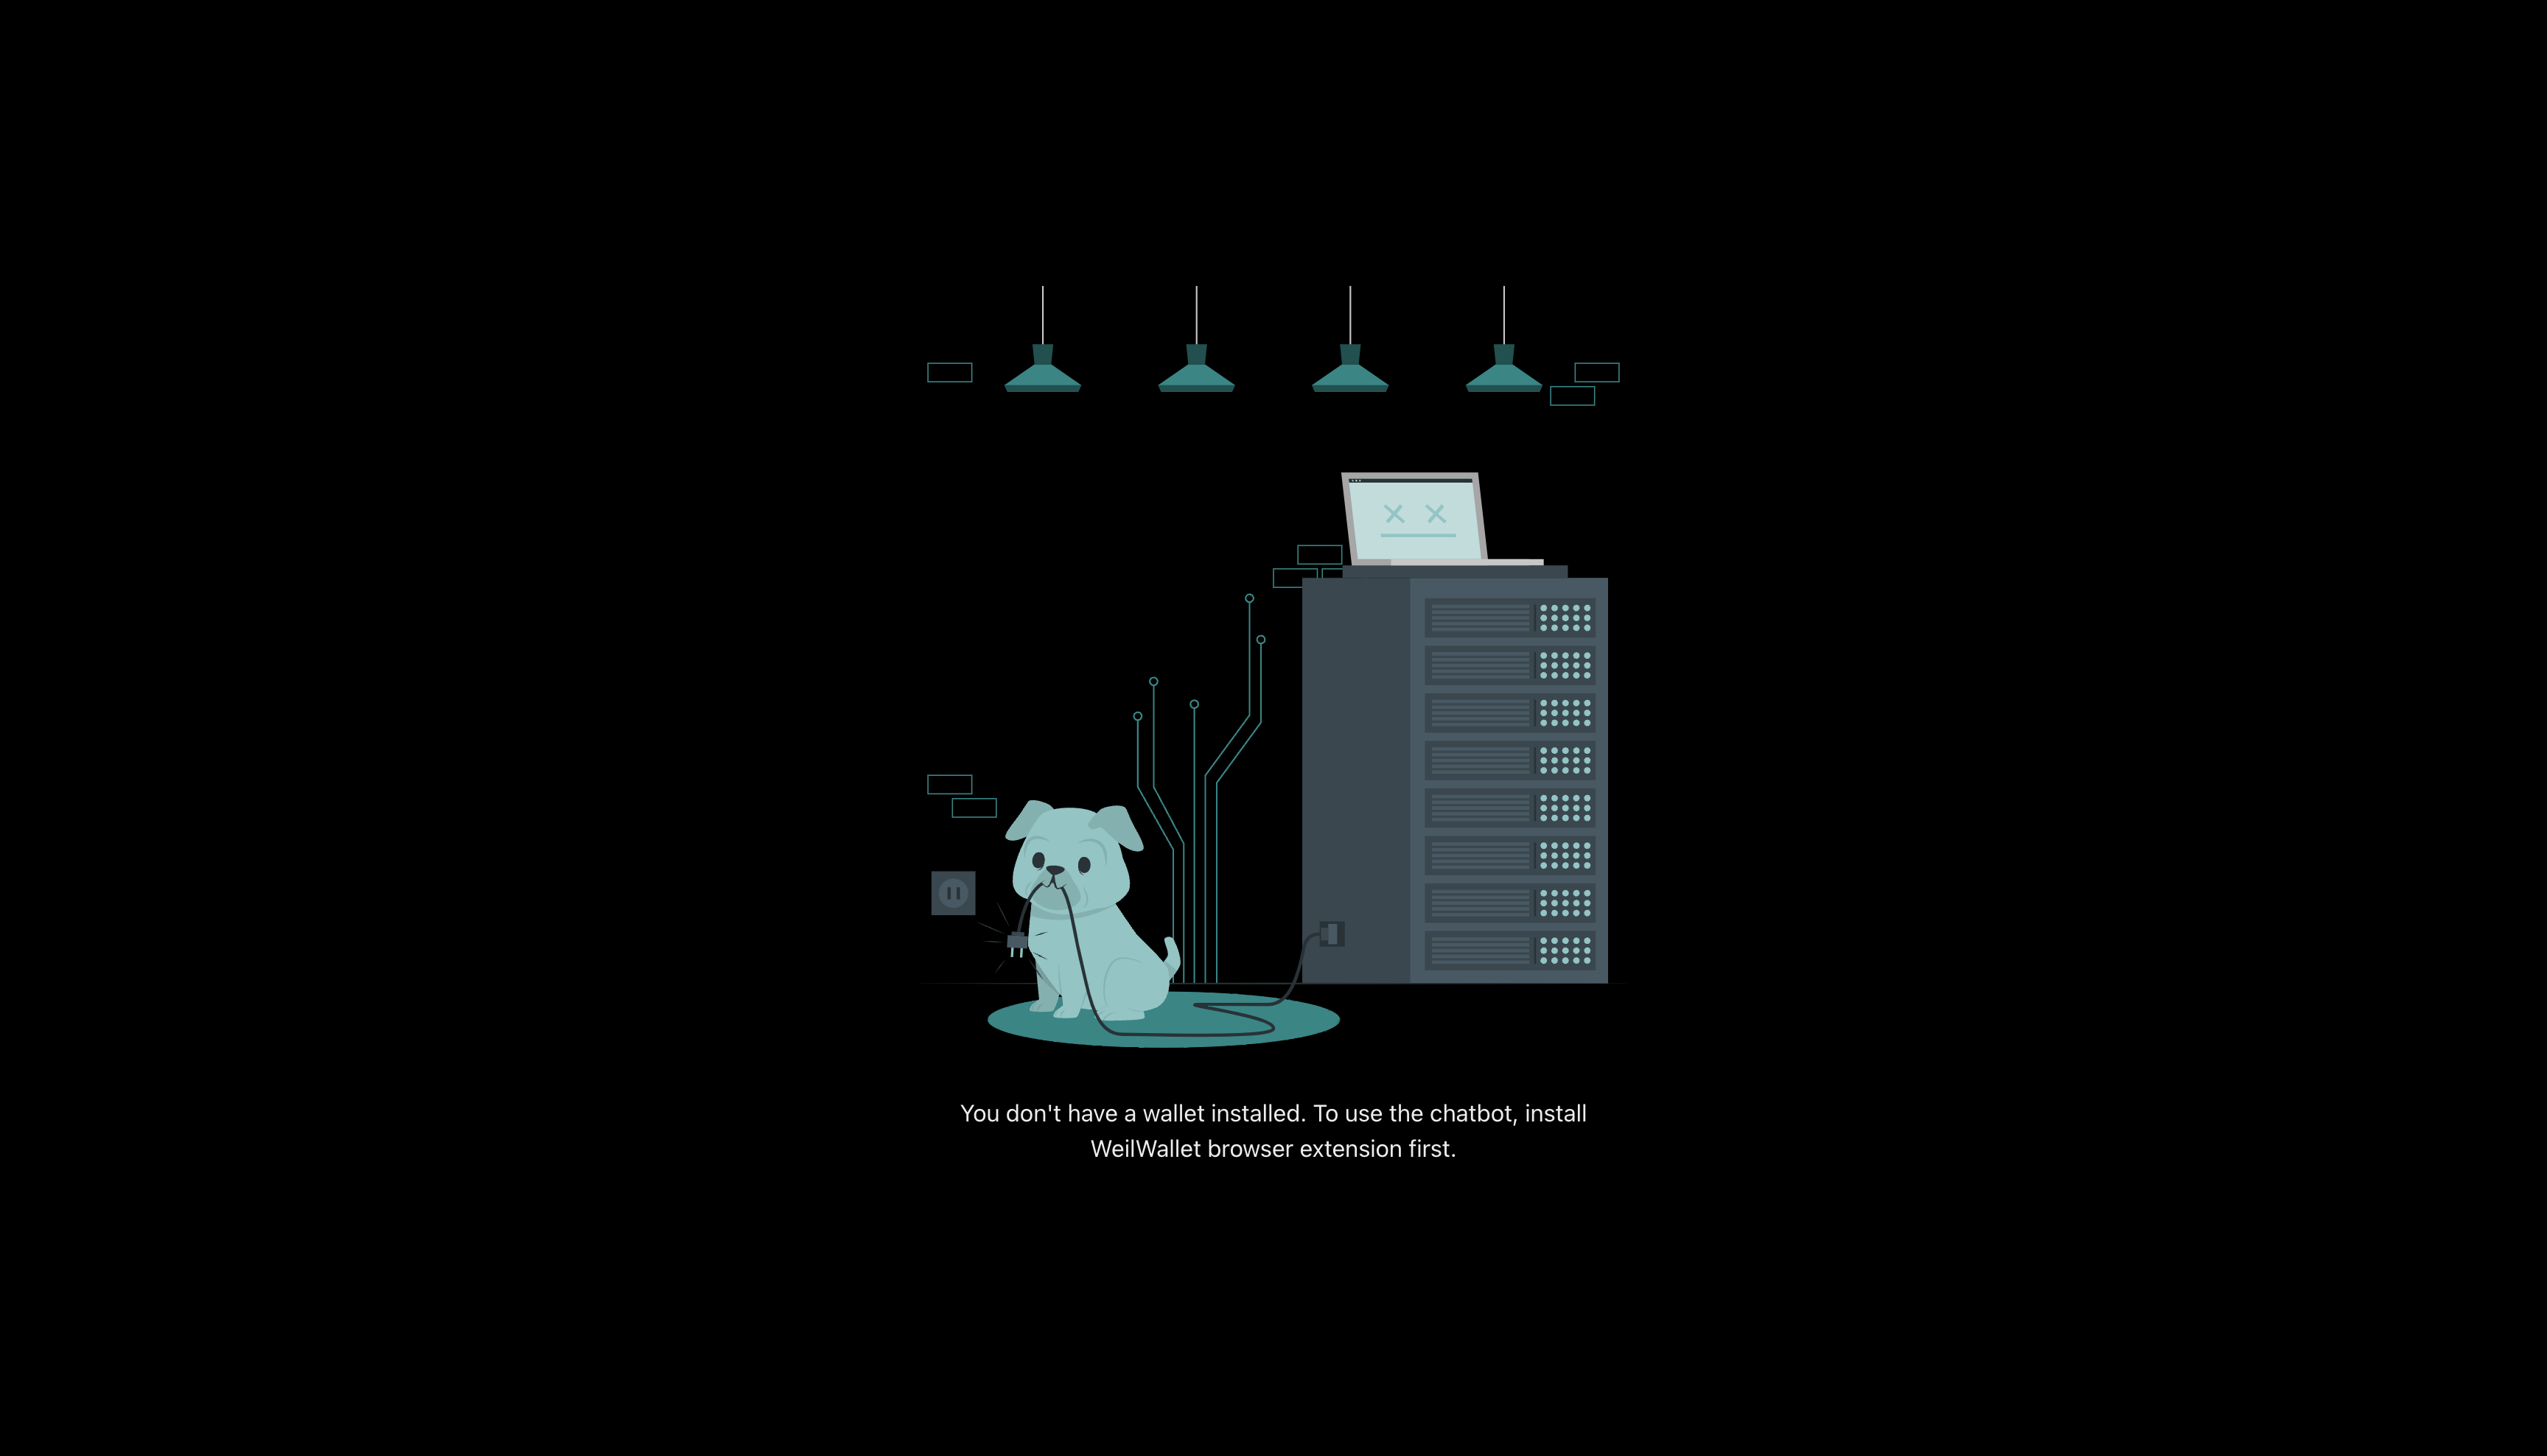
You can check if the wallet is installed by the presence of window.WeilWallet object. For example, in React you can
build a WalletGate component that will show you NoWallet component (e.g. a user friendly hero component informing
the user how to install wallet) in case it's not installed, otherwise it will render its children.
Rendered NoWallet component
export const WalletGate: FC<PropsWithChildren> = ({ children }) => {
  if (!window.WeilWallet) {
    return <NoWallet />
  }

  return <WalletConnection>{children}</WalletConnection>
}
Rendered {children} that will show an option to connect the wallet
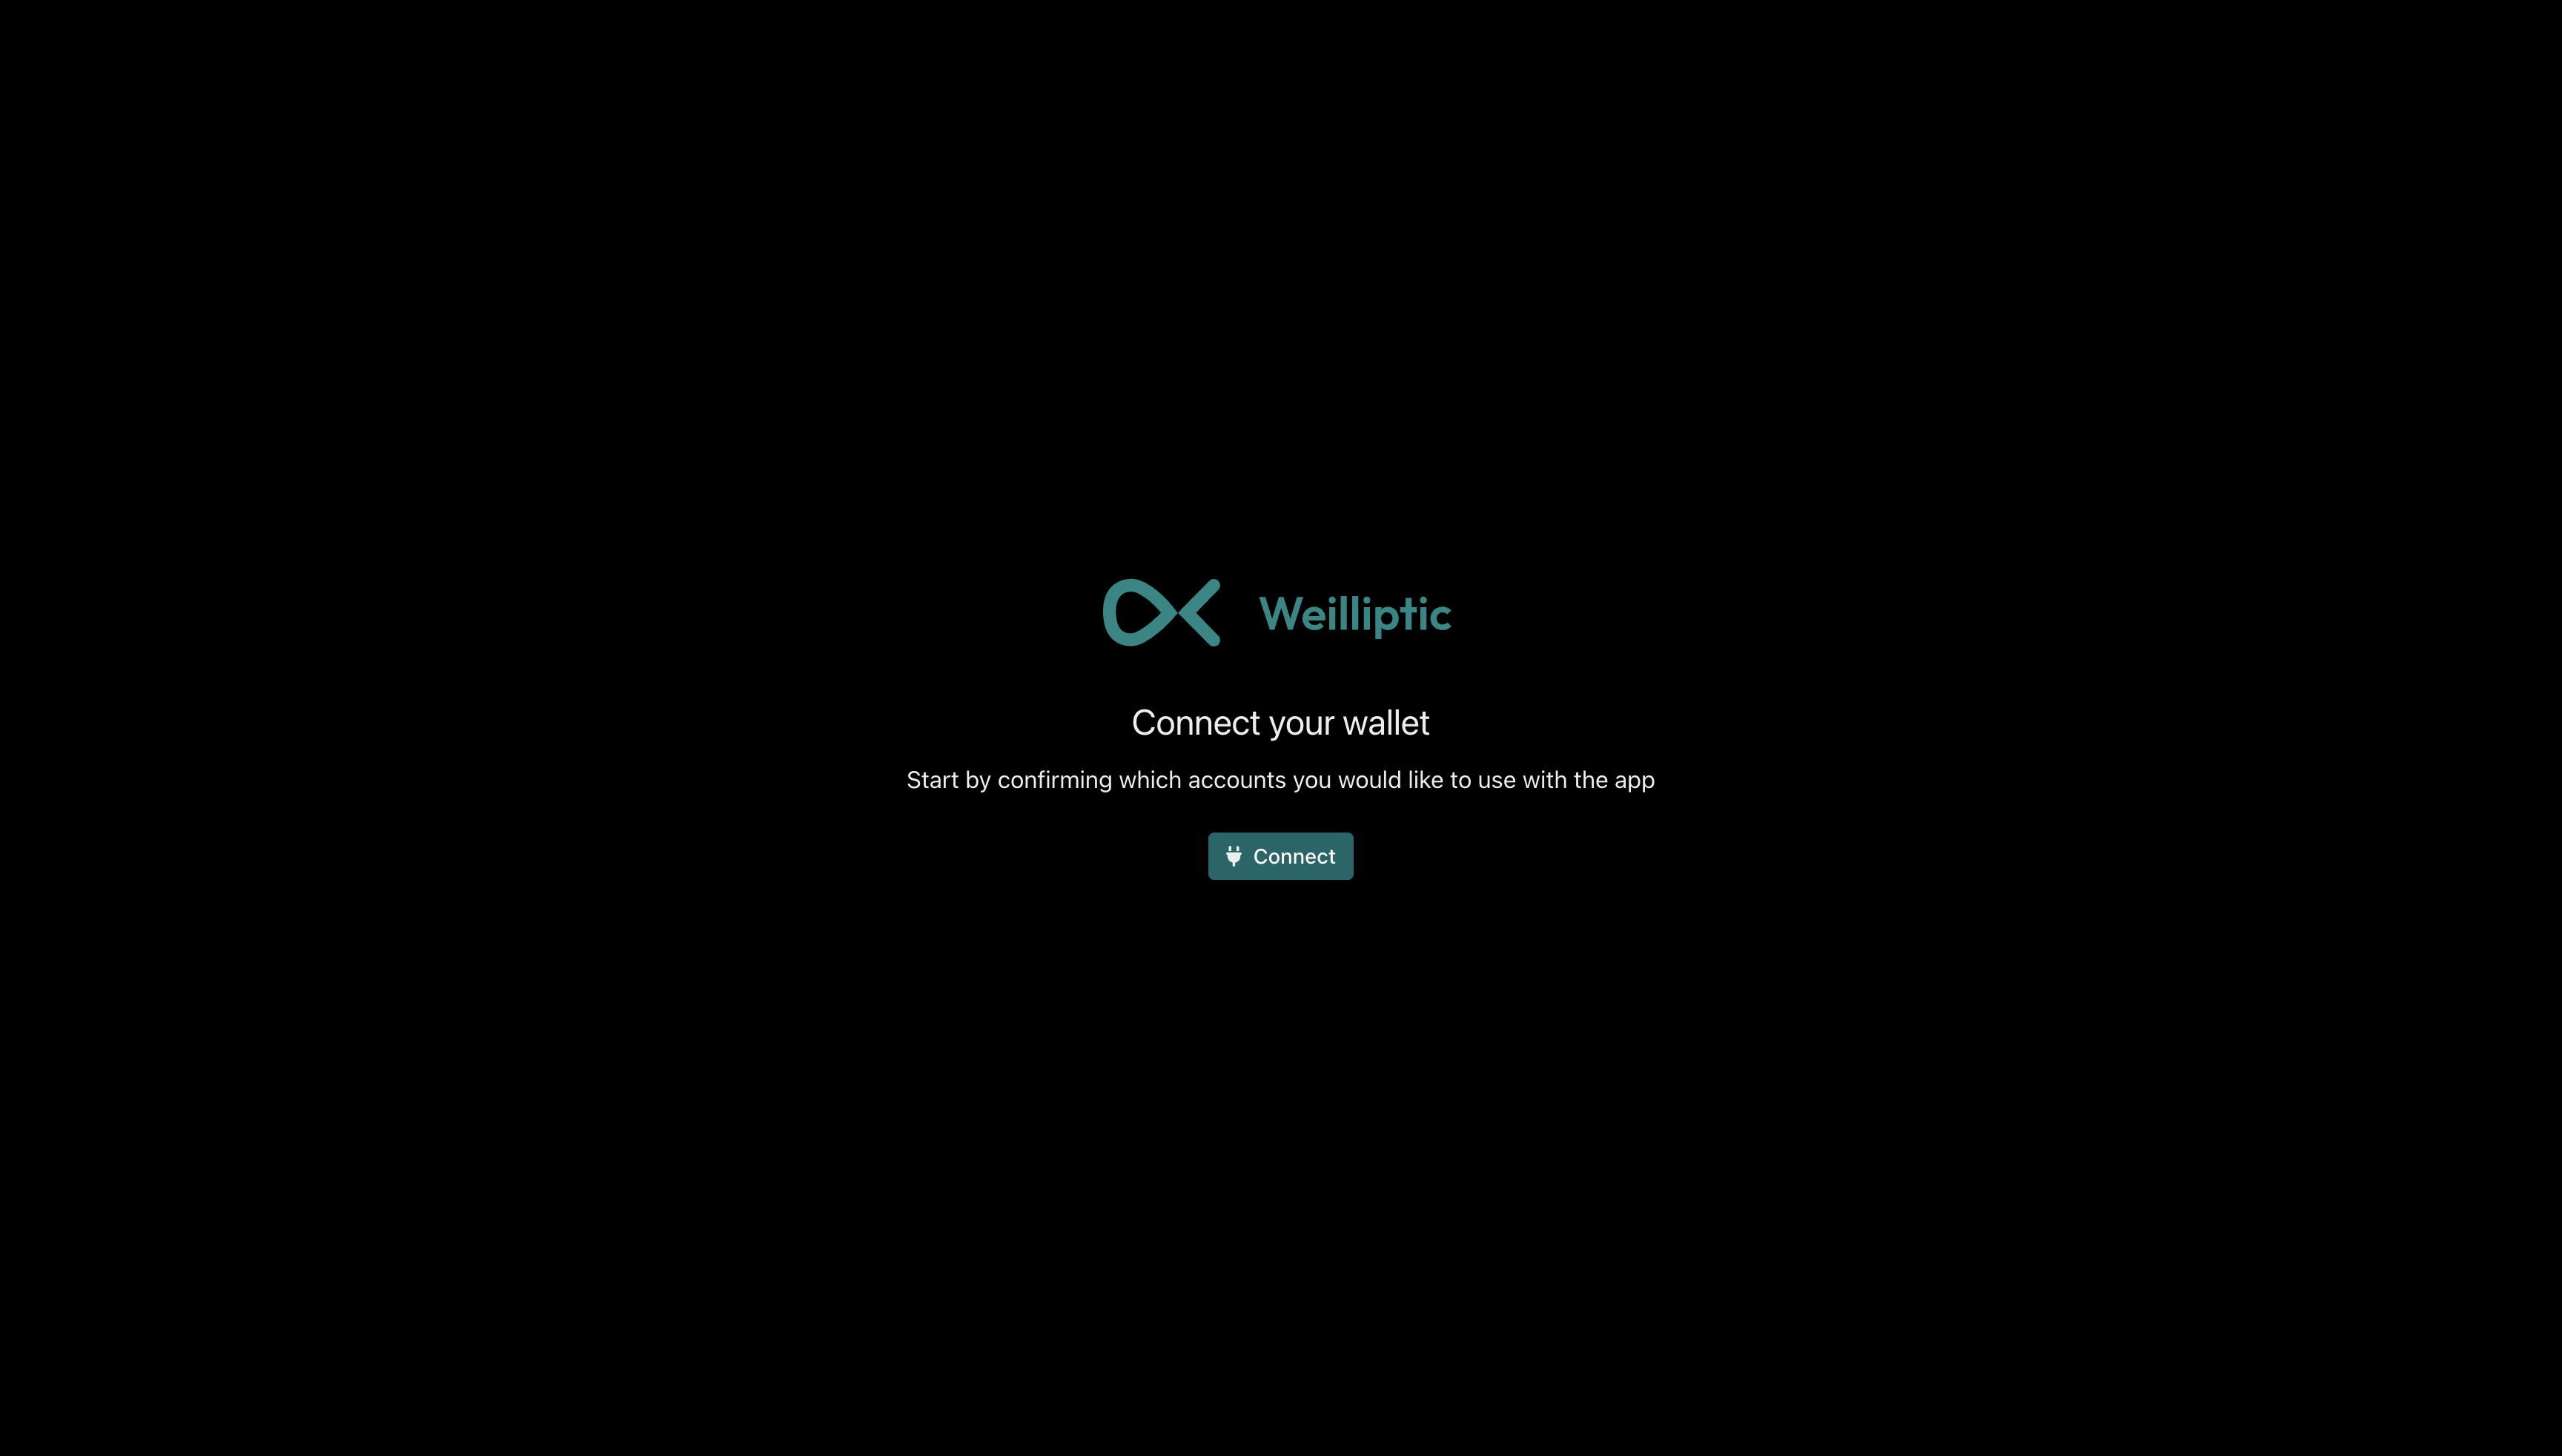
Connecting to wallet
You can use the following code to connect to the wallet.
const connectWallet = async () =>
  window.WeilWallet.request({
    method: 'weil_requestAccounts',
  })
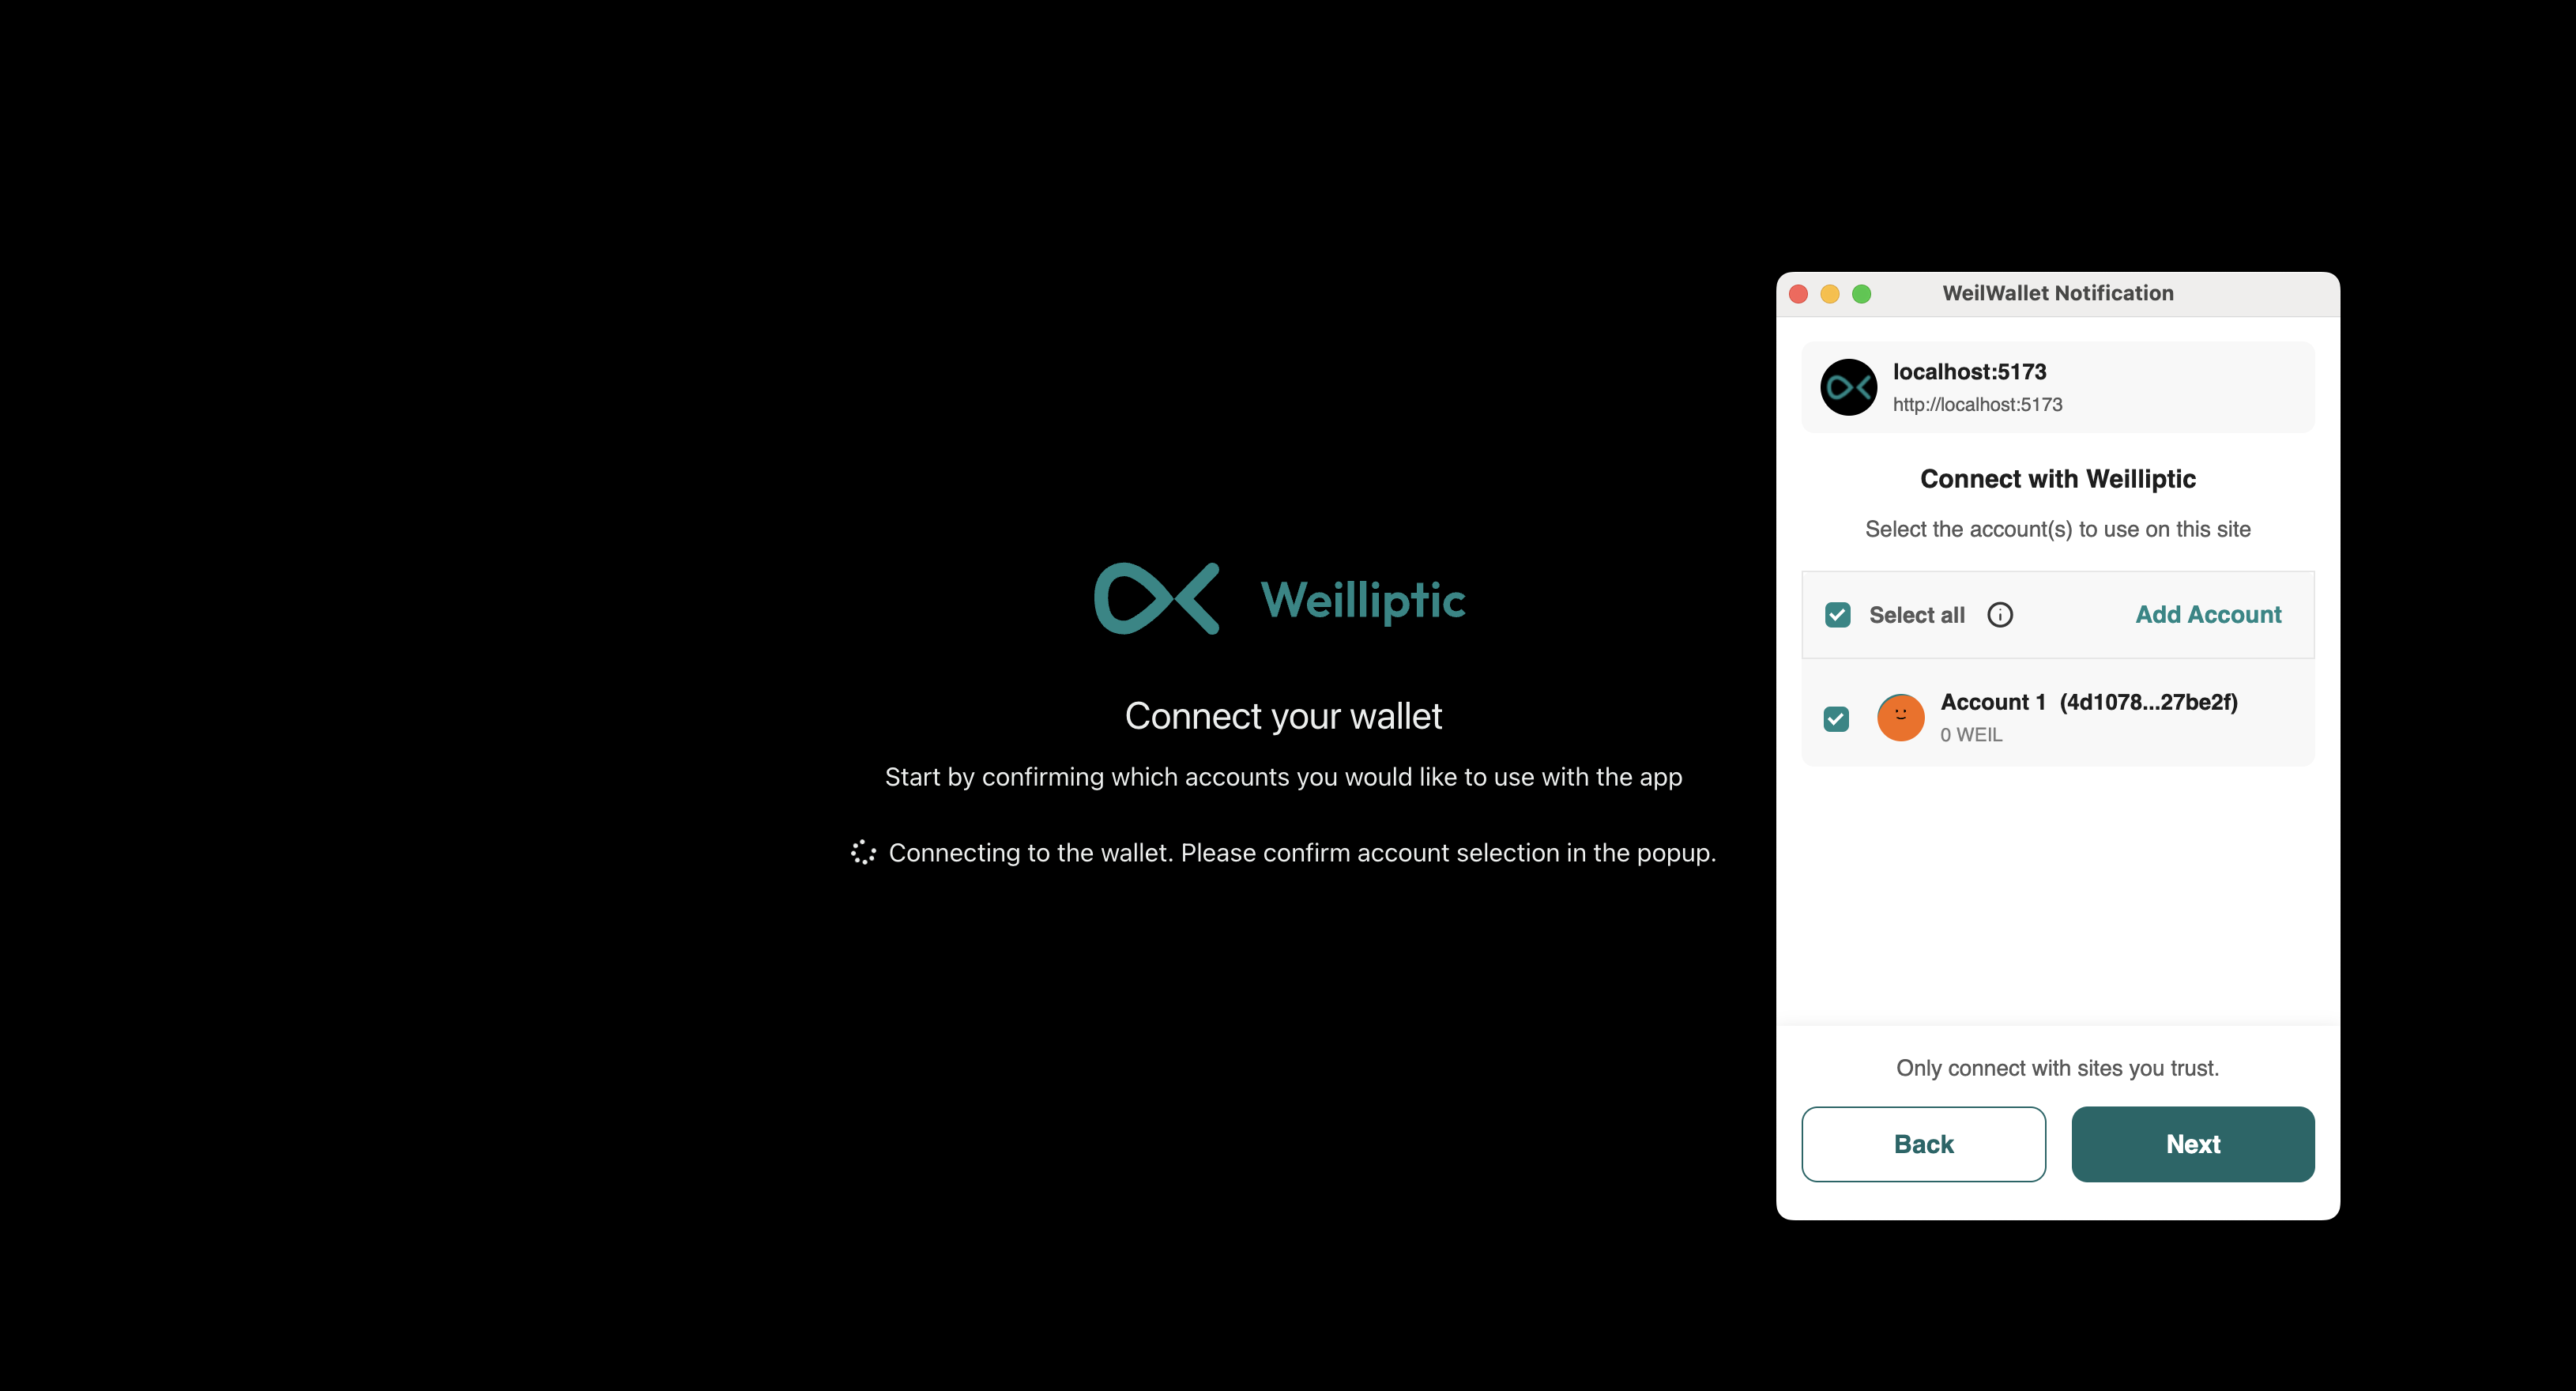
This method will trigger an extension popup that will allow choosing account(s) to connect to your DApp. If returns a promise that will either resolve to the list of selected accounts or be rejected if the user cancels the process.
Browser extension popup
Using smart contract methods
Using smart contract WIDL file, generate contract bindings to use in your project
widl generate chatbot.widl client tsc
Refer to client SDK documentation section for more detailed information.
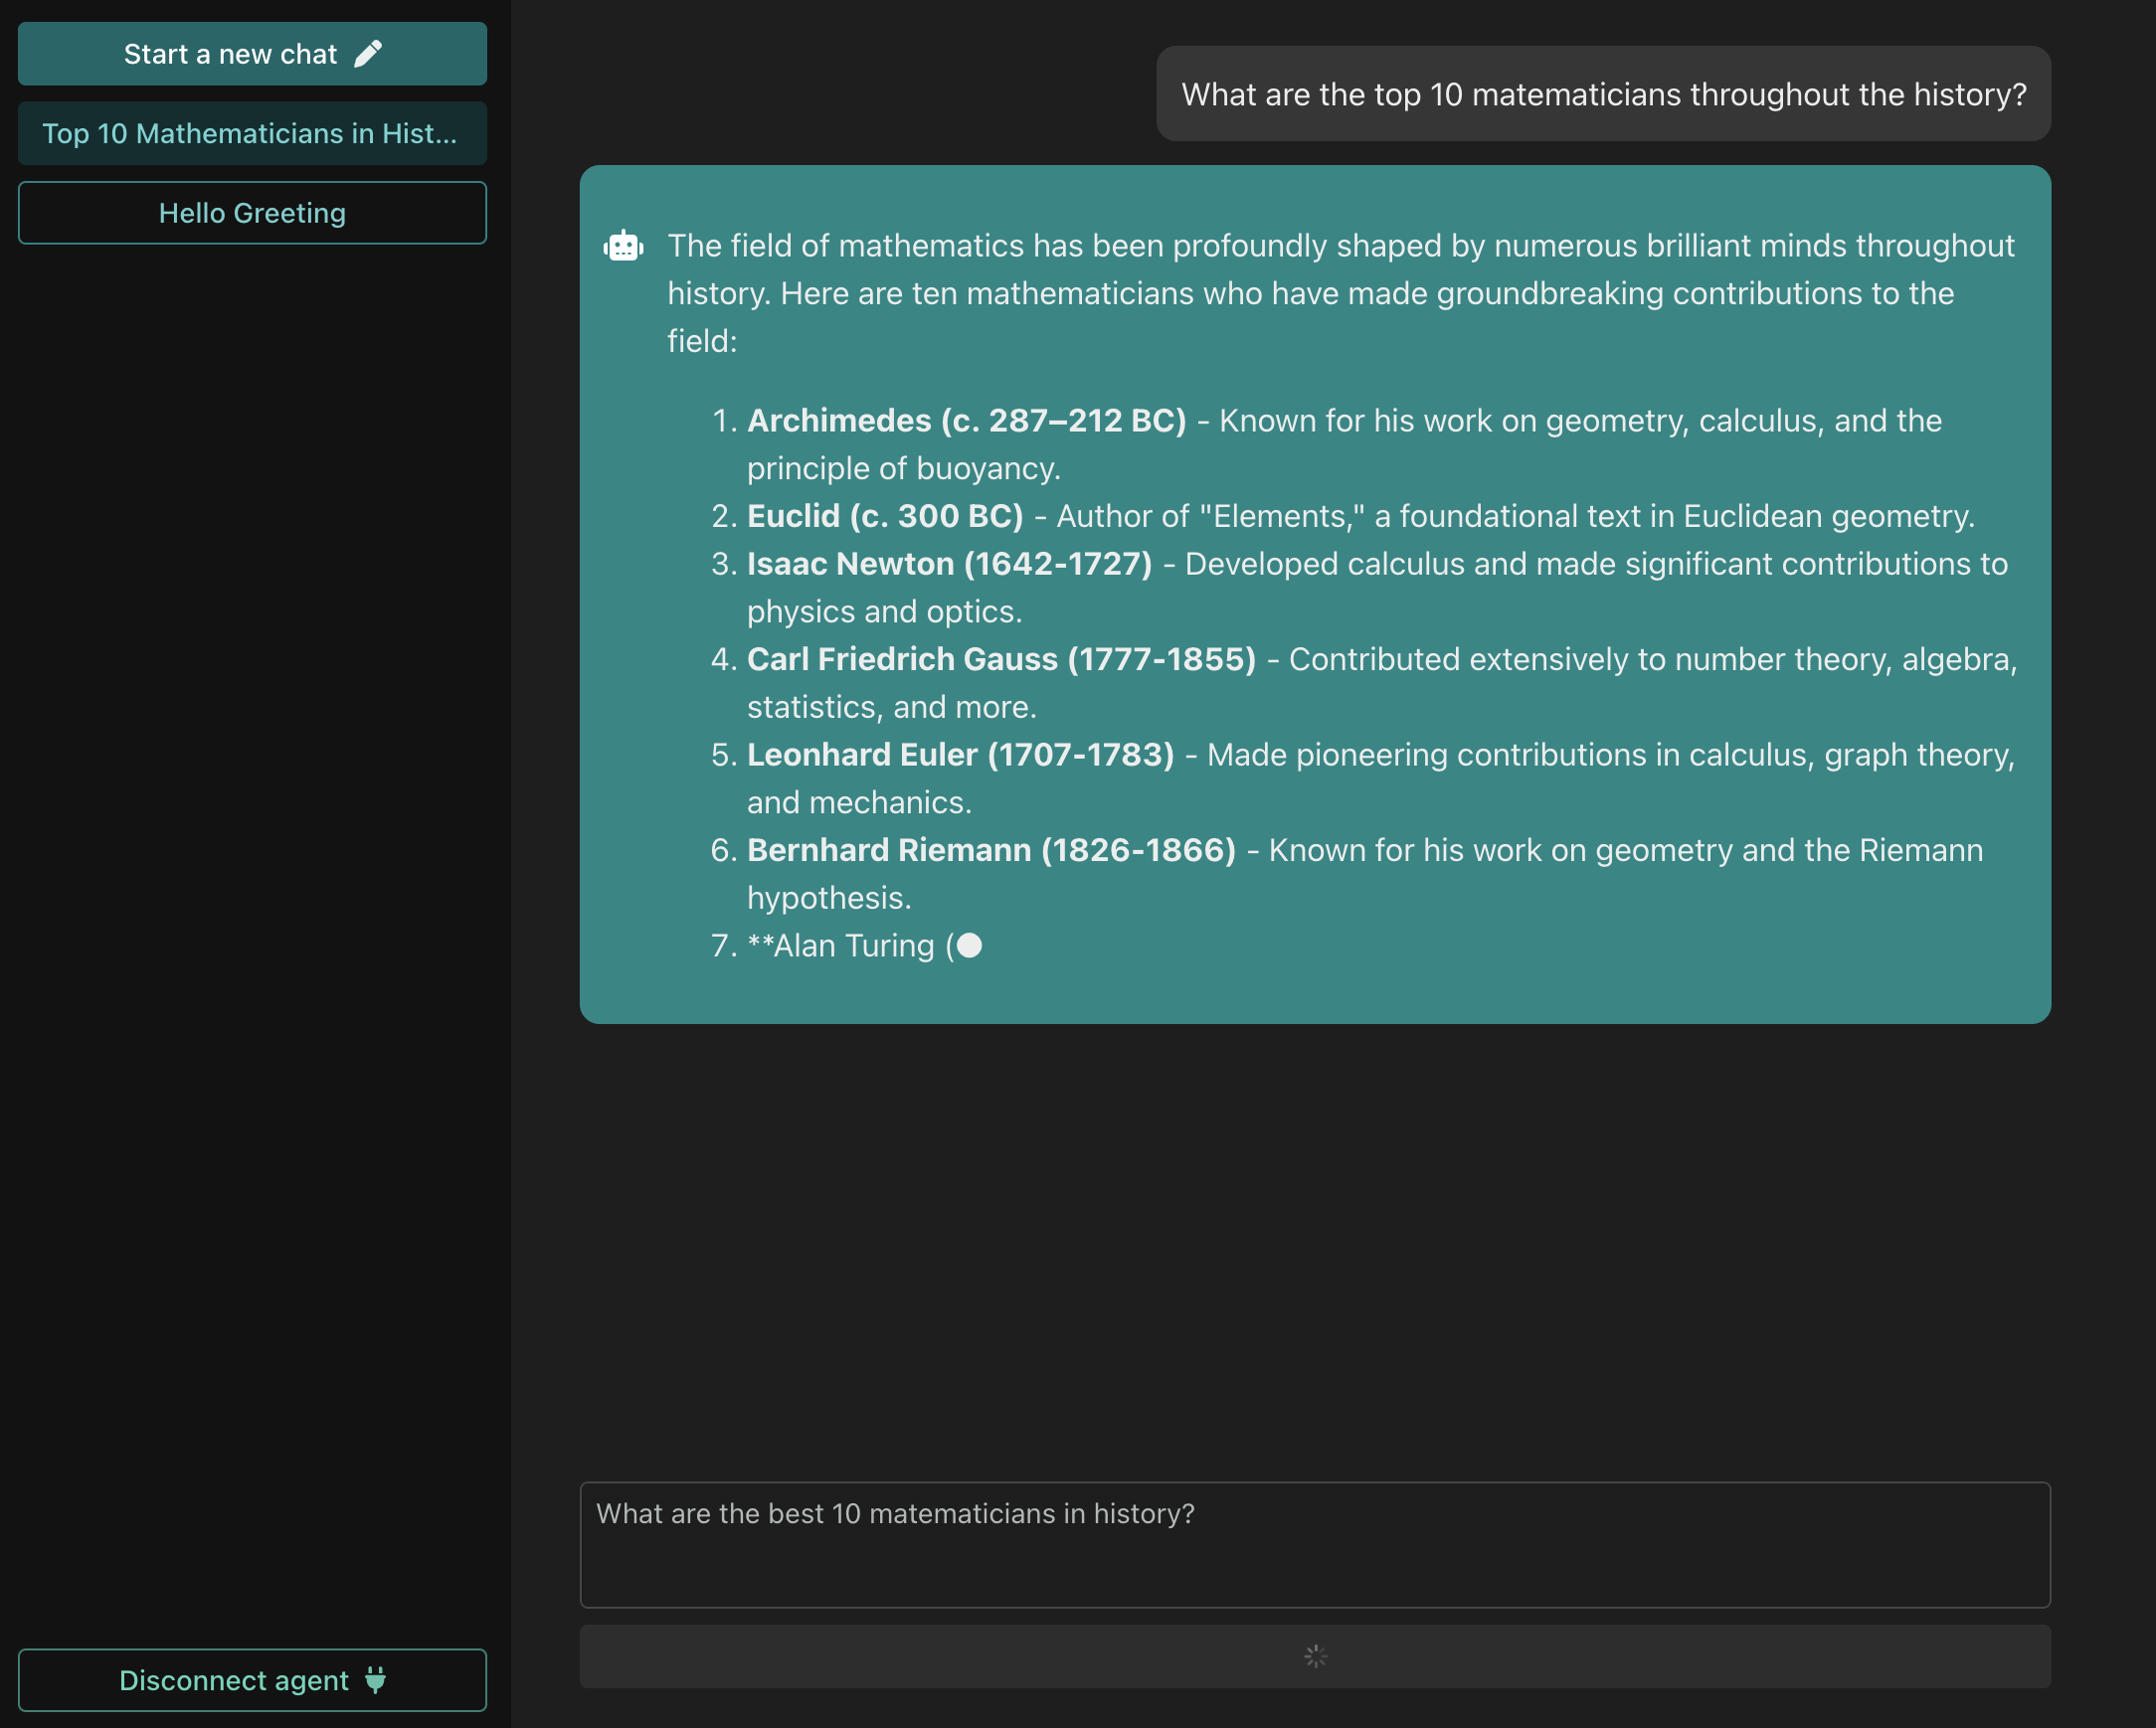
Copy the generated file to your project. Now you can use it like this. This example shows the full functionality of the chatbot.
import {Chatbot} from './bindings.ts'
import {response} from "express";
import {chunk} from "sitemap/dist/lib/utils";

let response = ''

const updateResponse = (chunk: string) => {
  response += chunk

  console.log('Agent response', response)
}

const chatbot = Chatbot(wallet, address)
const models = await chatbot.list_models()
const selectedModel = models[0]
const threadId = await chatbot.new_thread(selectedModel)
const userQuery = 'What is a blockchain in simple terms?'
const responseStream = await chatbot.chat_query(threadId, userQuery)
for await (chunk of responseStream) {
  updateResponse(chunk)
}
await chat.append_response(threadId, userQuery, response)
const updatedThreadTitle = await chat.get_thread_title()
await chat.update_thread_title(threadId, updatedThreadTitle)
Note that the chat_query response comes as a stream that you can iterate over using an async iterator.
Disconnecting from the wallet
You can use the following code to disconnect from the wallet.
const disconnectWallet = async () =>
  window.WeilWallet.request({
    method: 'wallet_disconnect',
  })
Full DApp example
You can download the fully functional front-end that uses the chatbot contract here: https://github.com/weilliptic-inc/examples/tree/dev/typescript/chatbot
You can either test it locally by serving from a local webserver of your choice, or deploy this DApp on chain using the webserver smart contract.
Deploying DApp on chain
Refer to Load Web Assets on WeilChain guide to deploy the above dapp on chain.
Full Chatbot DApp example
Video Tutorial
Here is a video describing the complete flow.