Use Tokens through the Web-Wallet Browser Extension
This guide will walk you through importing tokens and managing transactions (sending and receiving tokens). Follow each step carefully, especially when securing your recovery phrase.
Prerequisites
-
Deploy Contract: To import the tokens you have minted on the platform, you need to have first deployed a token. We will use the Yutaka for this example. Once you have deployed it, you would have got a response like this
deploy -f path/to/yutaka/yutaka.wasm -p path/to/corresponding/widl/yutaka.widl

{"batch_author":"pod-0ccedeb8-0.weilliptic.default.svc.cluster.local-8000","batch_id":"149a59667d0cd8def6cc36fc66eef82e3f5f163b5df8a3a4200e2797bba3369e","block_height":17687,"contract_address":"7b22636....3343435663862227d","creation_time":"2024-11-01T15:38:13Z","status":"Finalized","tx_idx":0,"txn_result":"{\"Ok\":\"OK\"}","txn_ticket":{"Ok":"7b22636....3343435663862227d"}}- Save the
contract_addressfor later. - Also note the private key of the account which deployed the contract. The private key is shown by running
wallet showin the CLI.
- Save the
Creating an Account
- Open the Wallet Extension: Click on the wallet icon in your toolbar to open it.
- Create New Wallet: Select the option to create a new wallet. You will be prompted to set up a password. Choose a strong password and store it securely.
- Backup Phrase: After setting up a password, you’ll be shown a 12-word recovery phrase (also known as a seed phrase).
With this, you should have an account ready!
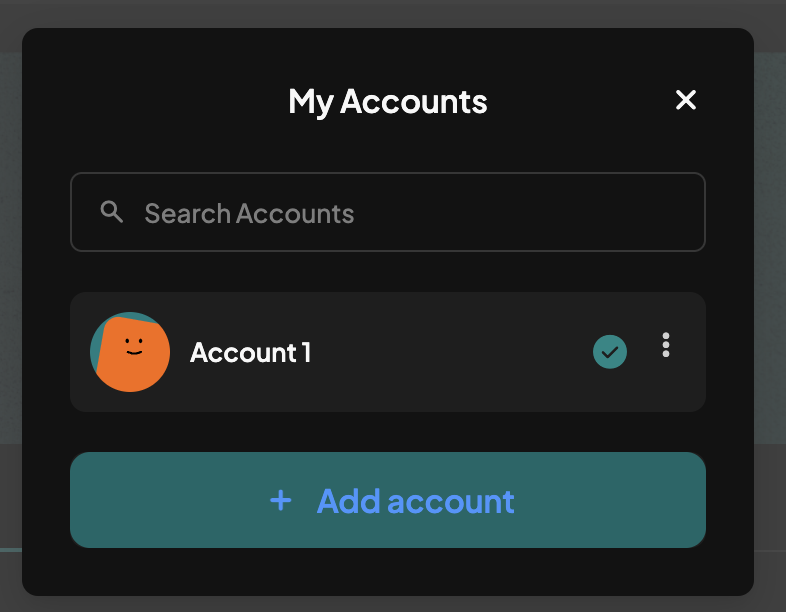
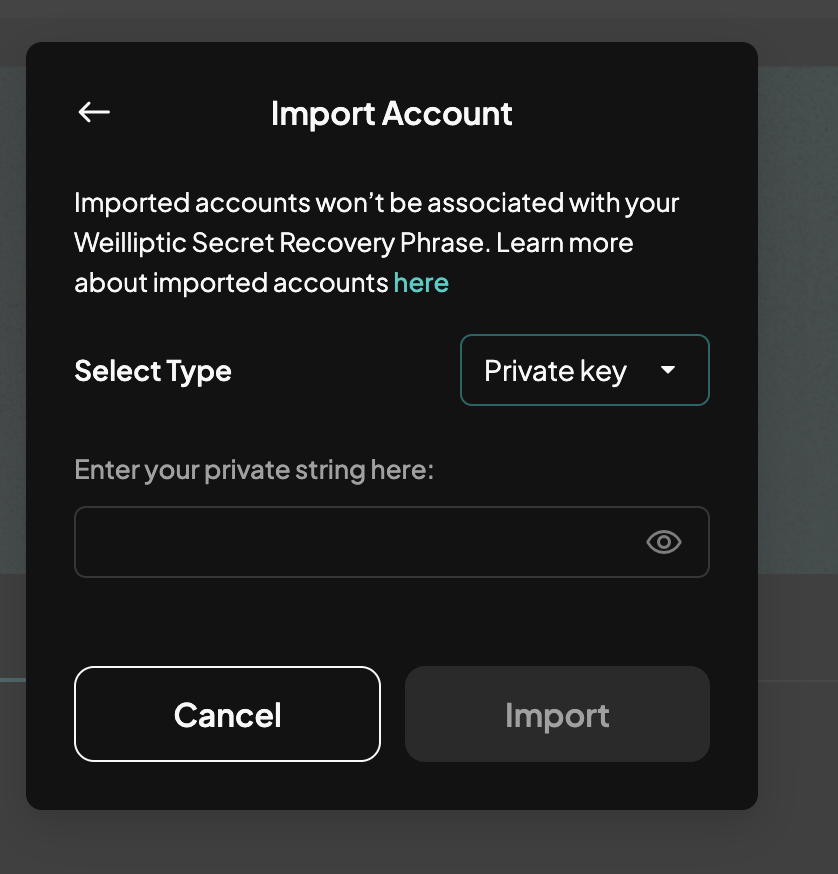
We will also create an account 2, using the private key of the deployer of our sample contract. To import an account,
Click on "Add account or hardware wallet"
Select Private Key from the list of methods available
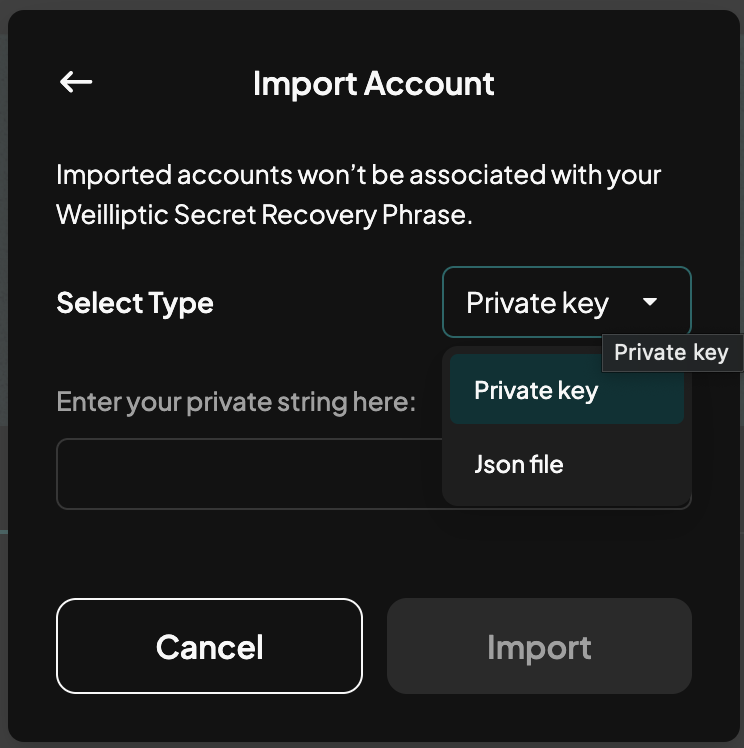
Enter the private key of the deployer of the token
Notice you have two accounts now, with the Account 2 as the account having the initial minted tokens. Optionally you may rename the accounts to give them some personal touch.
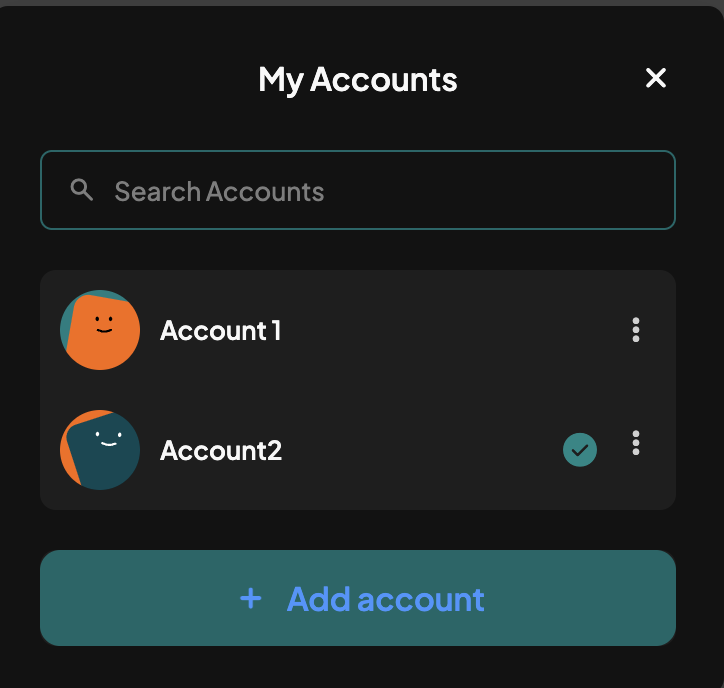
Additionally, ensure you are on using the correct network and port configs by going to Networks tab
Securing Your 12/24-Word Recovery Phrase
Your recovery phrase is essential for accessing your wallet if you forget your password or need to restore your wallet on a new device.
- Re Enter: You will be required to enter your phrase once at the start, so make sure you have it saved.
- Do Not Share: Never share this phrase with anyone. Anyone with access to your recovery phrase has full control of your wallet and tokens.
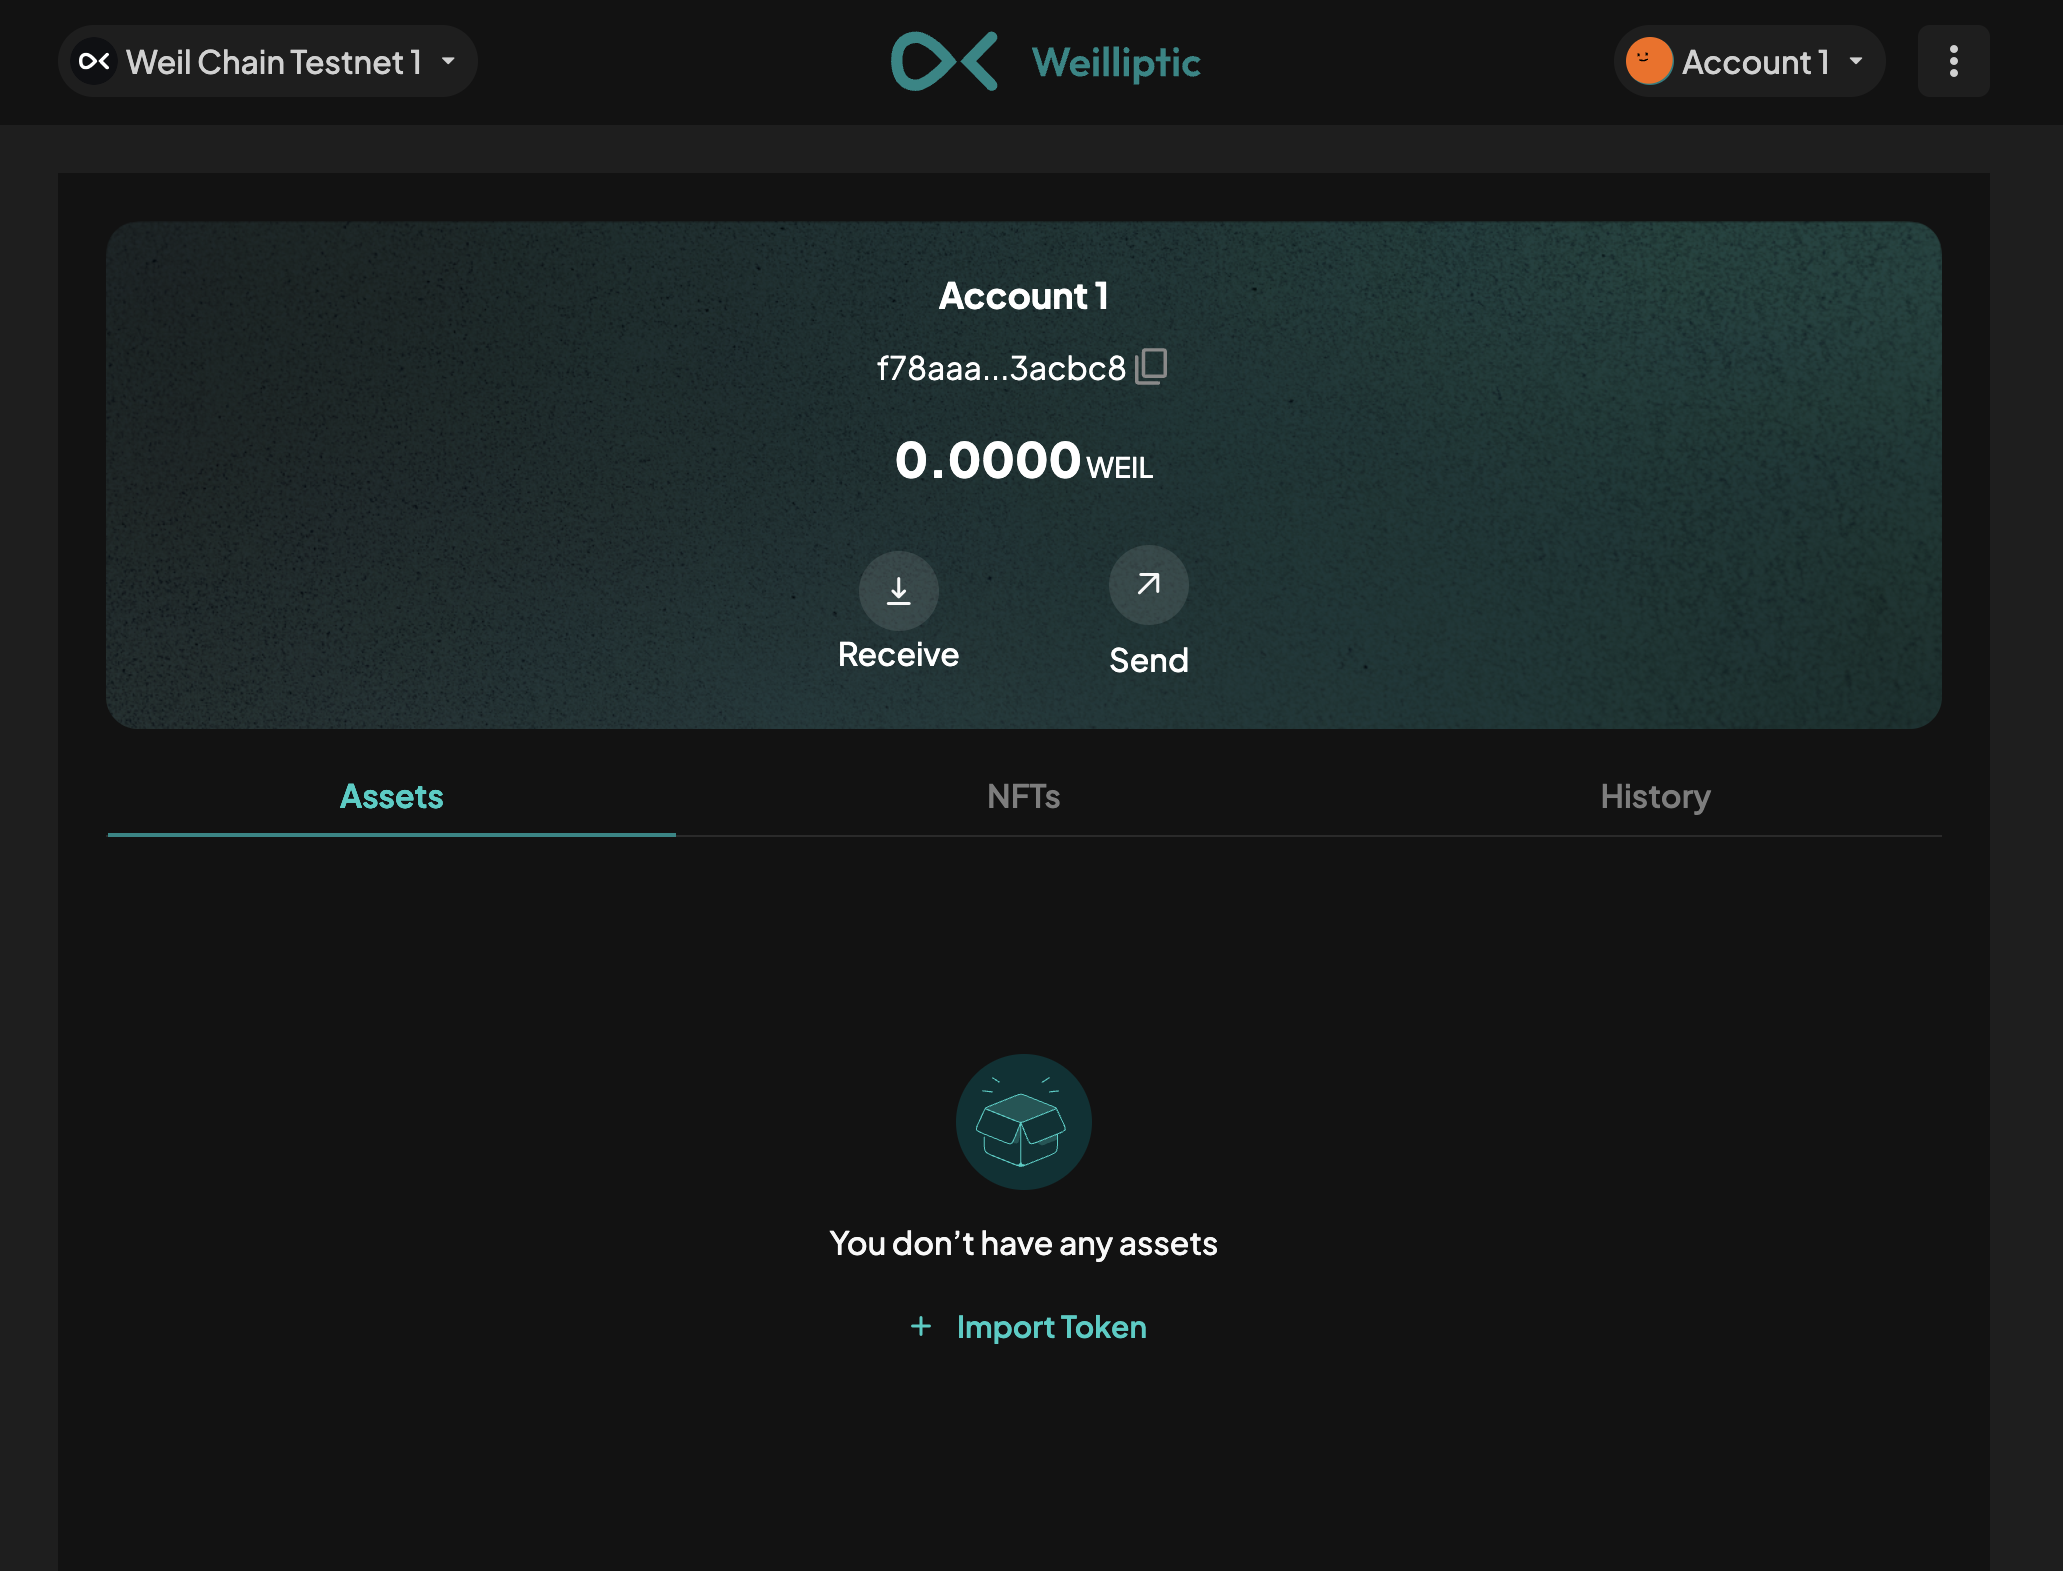
Importing Tokens
If you want to add a specific token (e.g., a new token from an ICO or an airdrop) to your wallet:
-
Go to Token Import Section: In the wallet interface, look for an option like “Import Token”

-
Enter Token Information: Contract Address: You’ll need the token’s contract address (which we copied after deploying it). The other details gets filled directly.
-
Import Token: Confirm and add the token. It should now appear in your token list within the wallet. It will also have an amount equal to the initial minted amount.

Sending Tokens
To send tokens to another wallet:
- Click the Send Button:
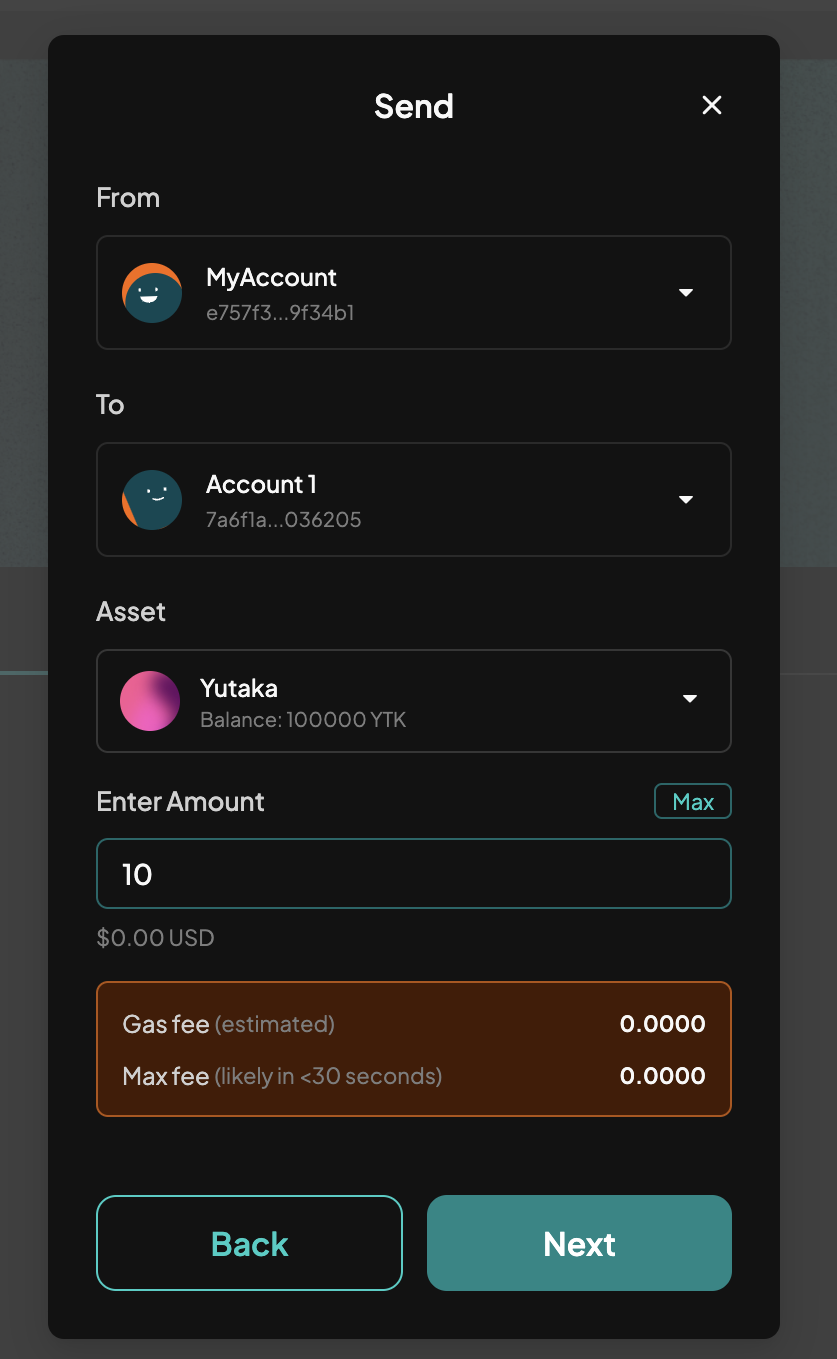
- Choose Recipient’s Address: Input the recipient’s wallet address carefully. We'll use the Account 1 in this example.
- Choose Amount: Specify the number of tokens you wish to send.
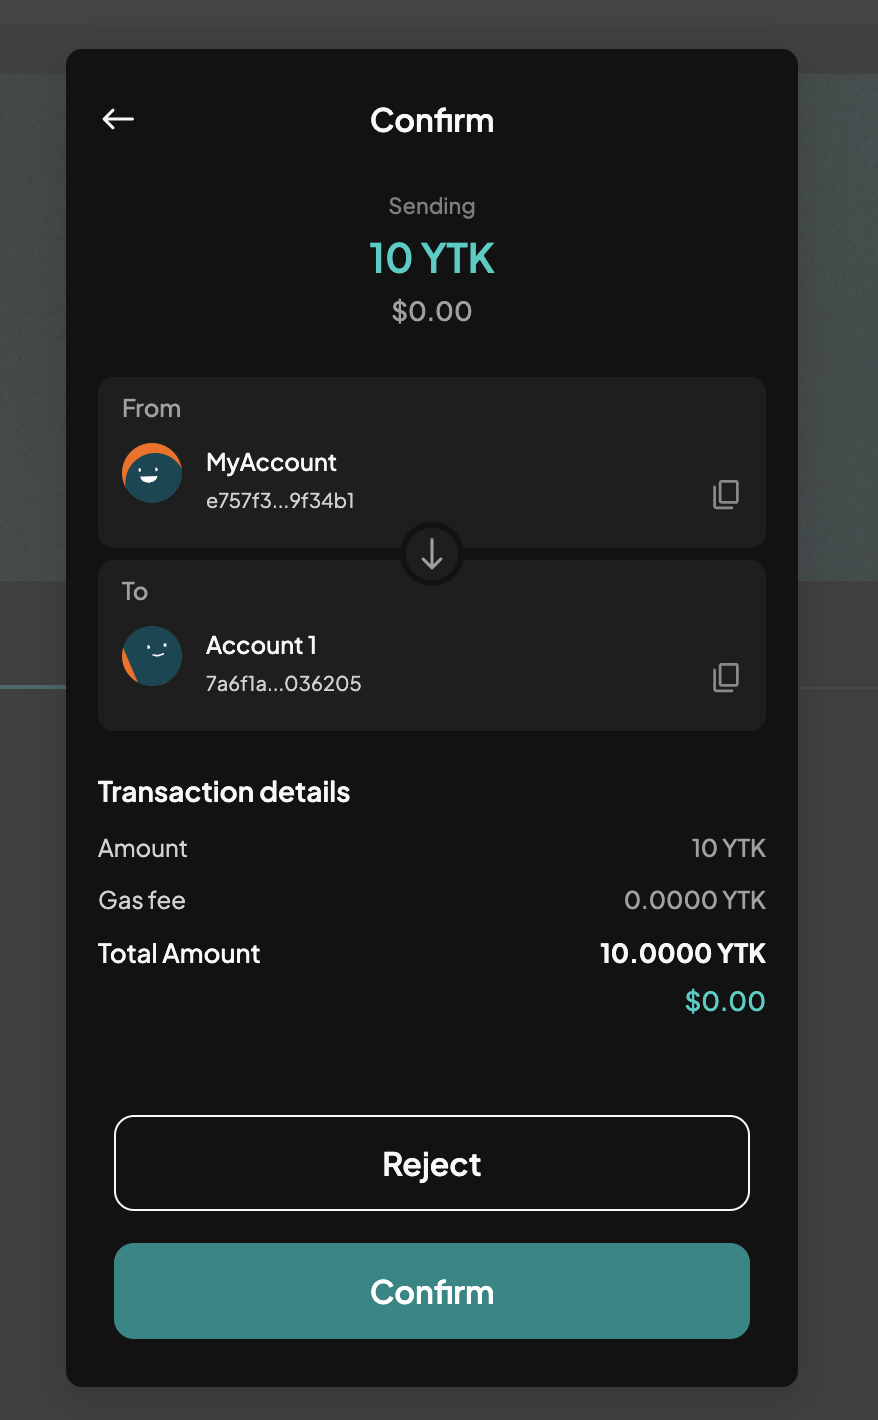
- Confirm Transaction: Review the transaction details, then confirm. Wait for the transaction to process on the blockchain.
Receiving Tokens
To receive tokens into your wallet:
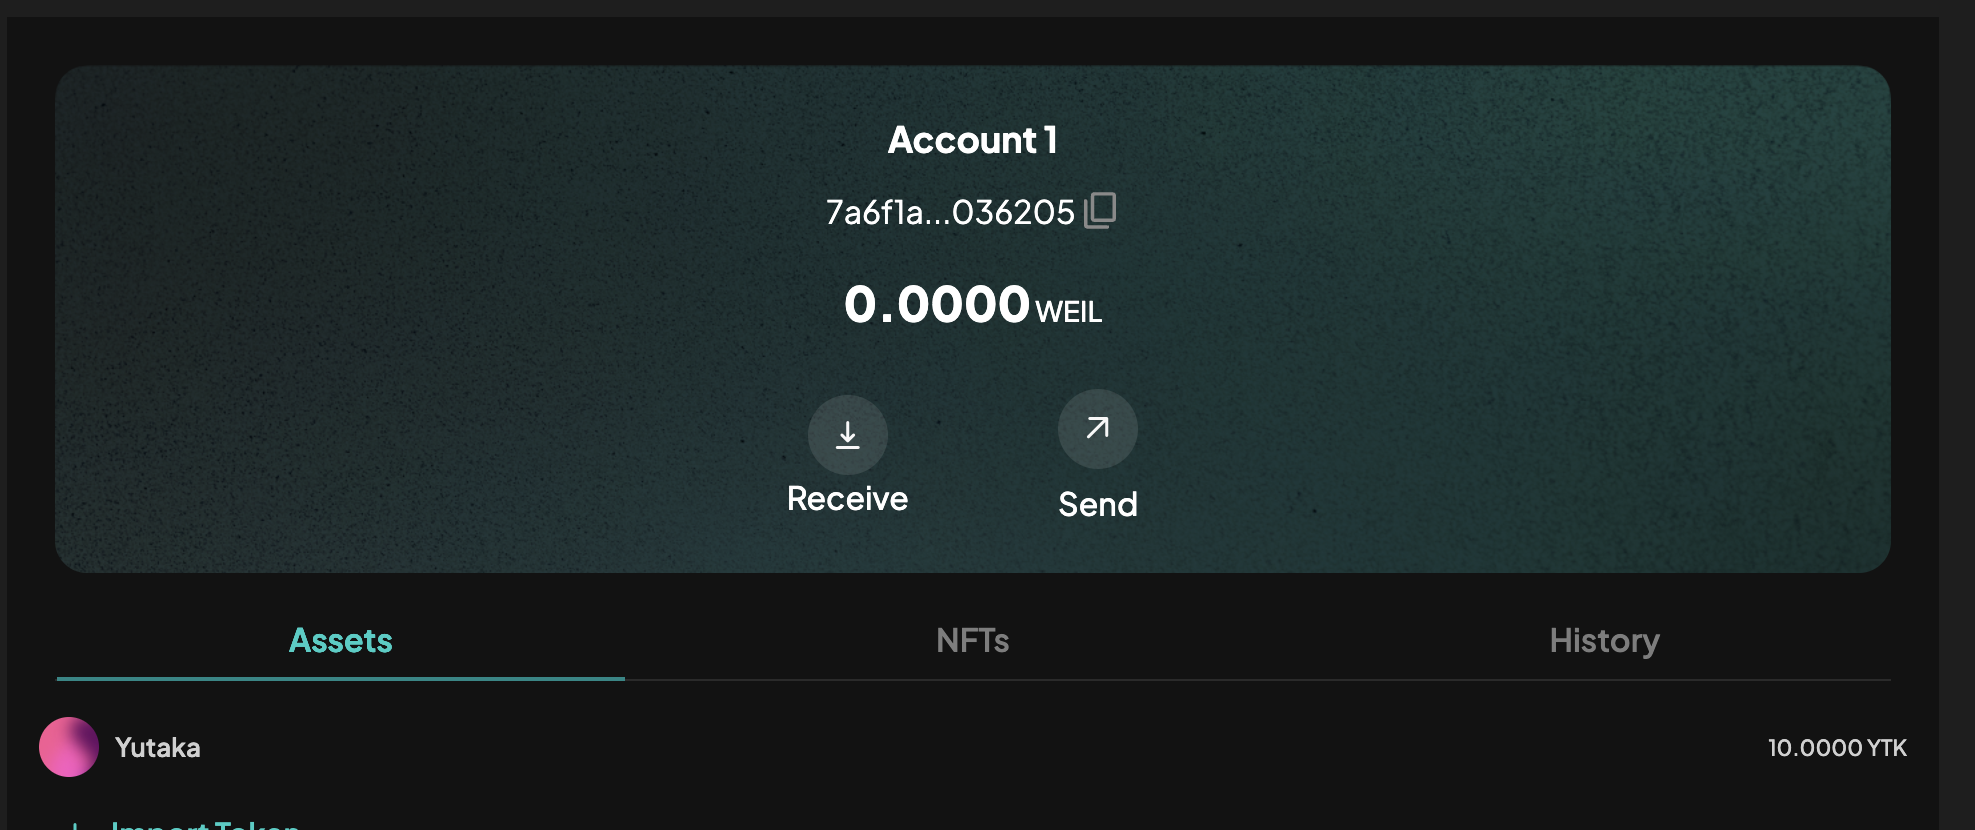
- Switch back to Account 1: To see the tokens in the other account, switch back to it.
- Check Balance: Once the transaction is complete, the tokens should appear in your balance.
Conclusion
You are now equipped to manage tokens using your web wallet extension! Always prioritize security, and enjoy the convenience of digital asset management.